2 min read
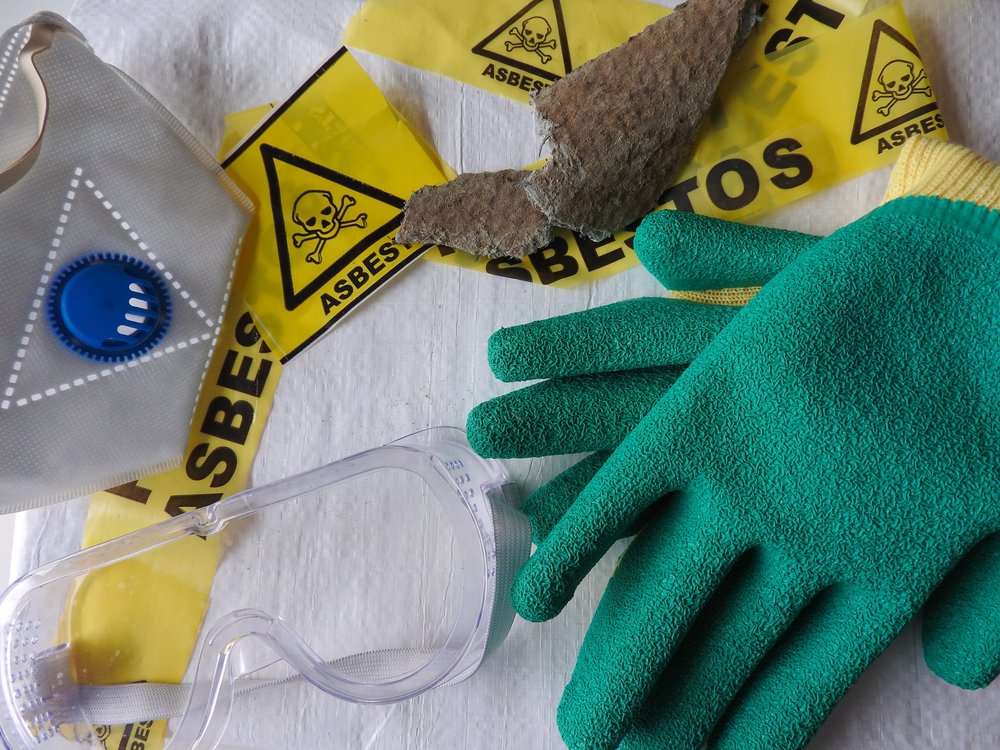
Asbestos is New Zealand’s number one killer in the workplace.
5 mins
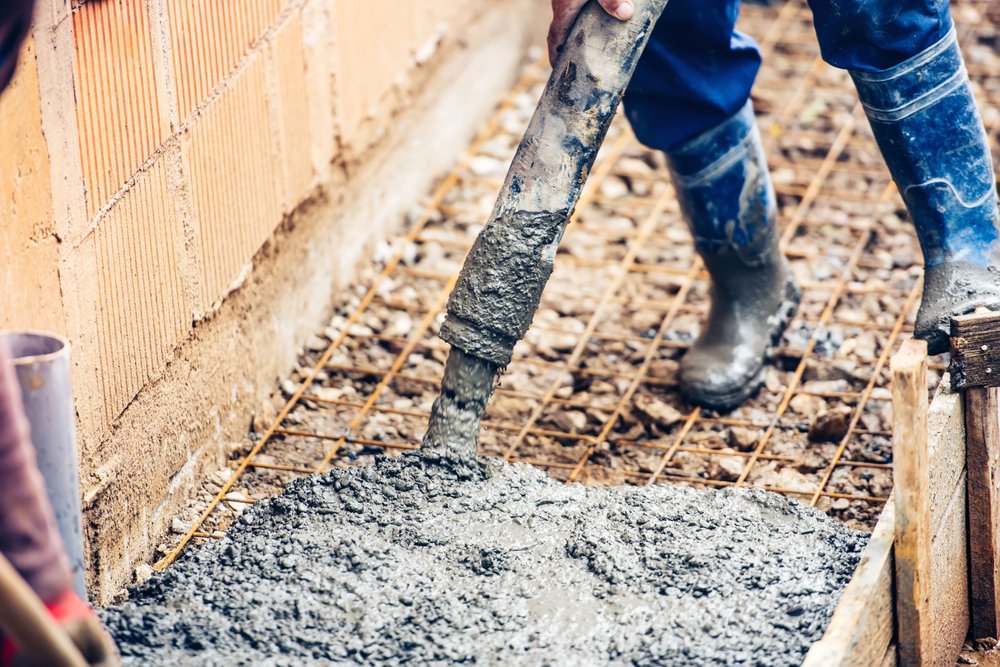
Cement-based concrete is widely used and contains extremely aggressive and hazardous chemicals.
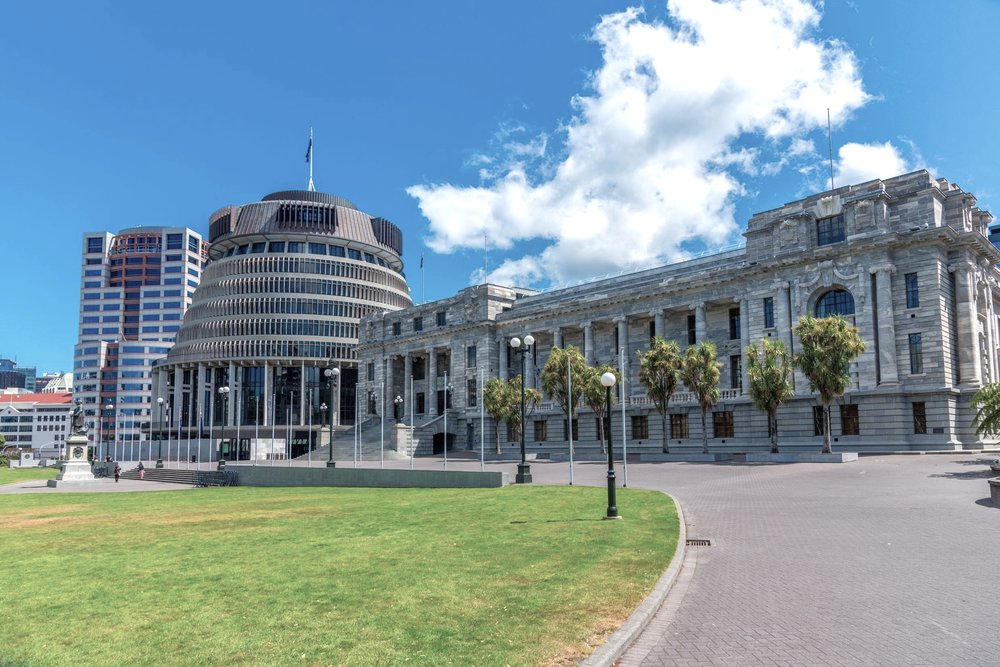
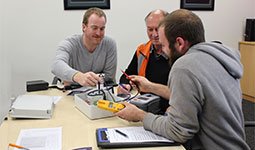
The Health and Safety at Work Amendment Bill is making its way through Parliament. It will bring some important changes. We’ve broken down what’s proposed, what it could mean for your business, and how to keep safety front and centre.
Before operating cranes onsite, businesses must adhere to minimum standards and provide essential documentation.
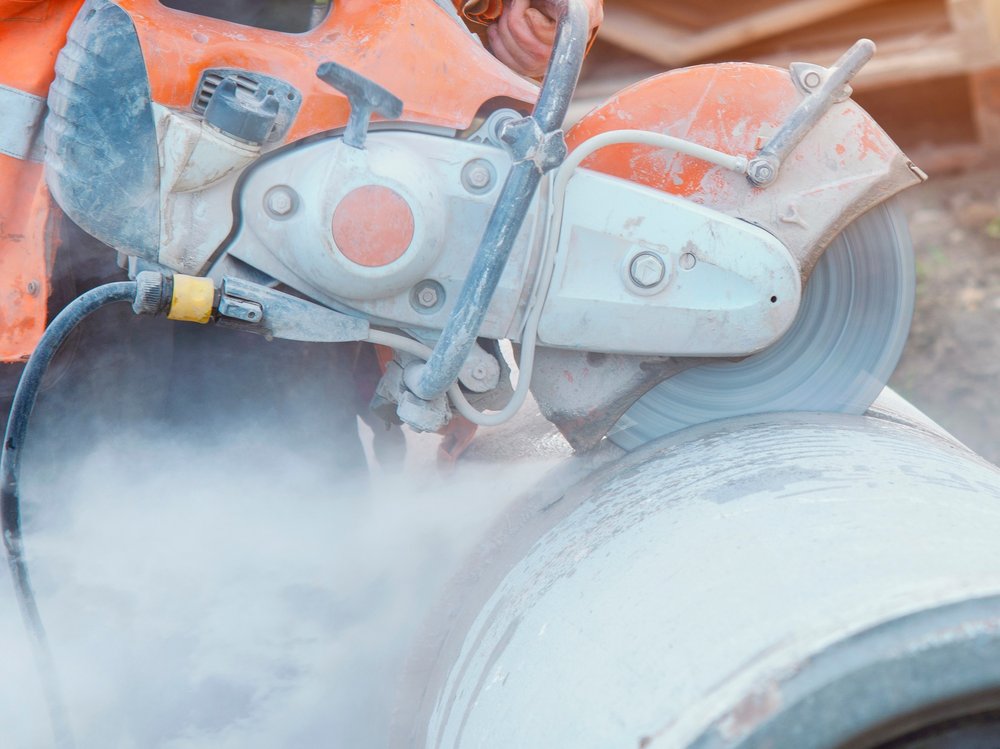
Workers in construction are 20 times more likely to die of exposure to harmful airborne substances than from a workplace accident.
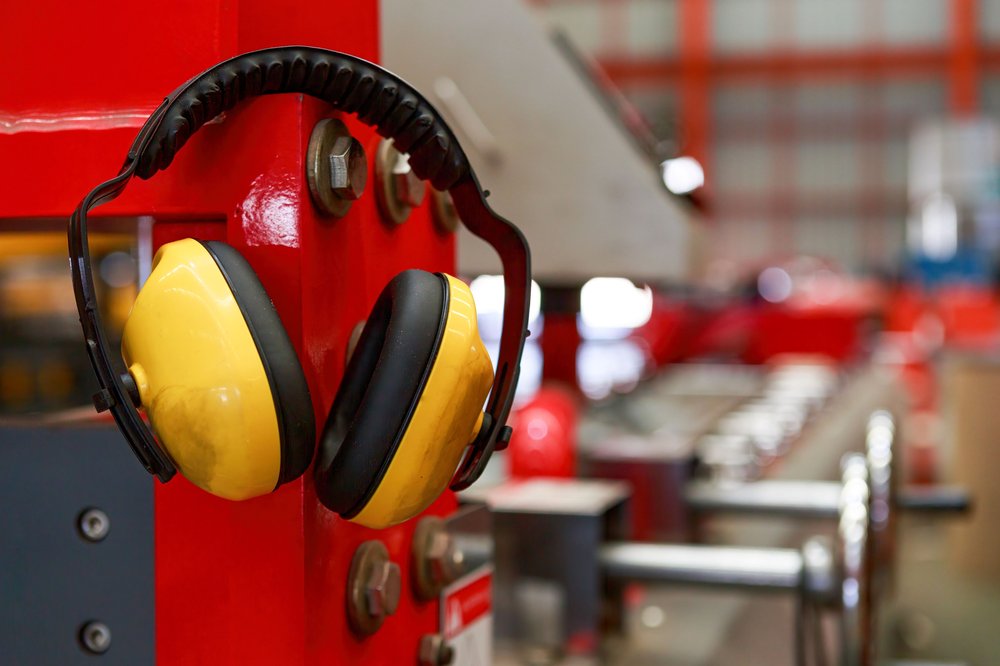
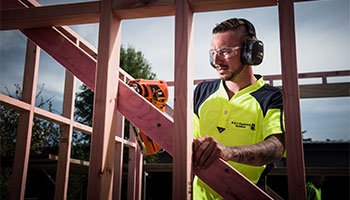
Many construction tasks, tools and equipment produce high levels of noise which can lead to irreversible hearing problems.
Working near electricity is dangerous and accidents can often be fatal. Because no device that can offer you 100% protection from electrocution, it’s important you remember to keep safe.
Find out how to select the right eye protection, wear it, how it works, how to care for it and more.
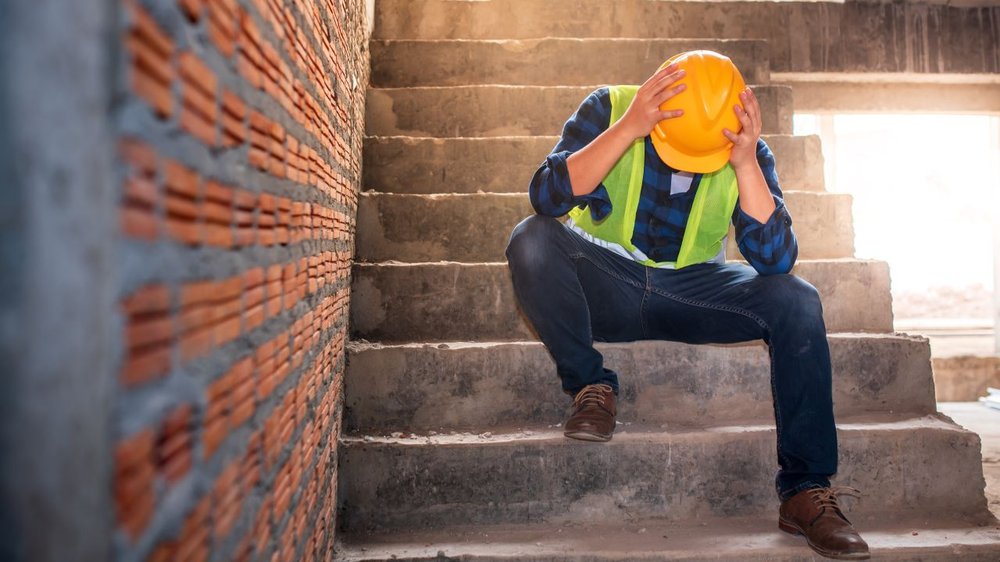
Fatigue is more than feeling drowsy. At work, fatigue is a state of exhaustion which can be both mental and physical.
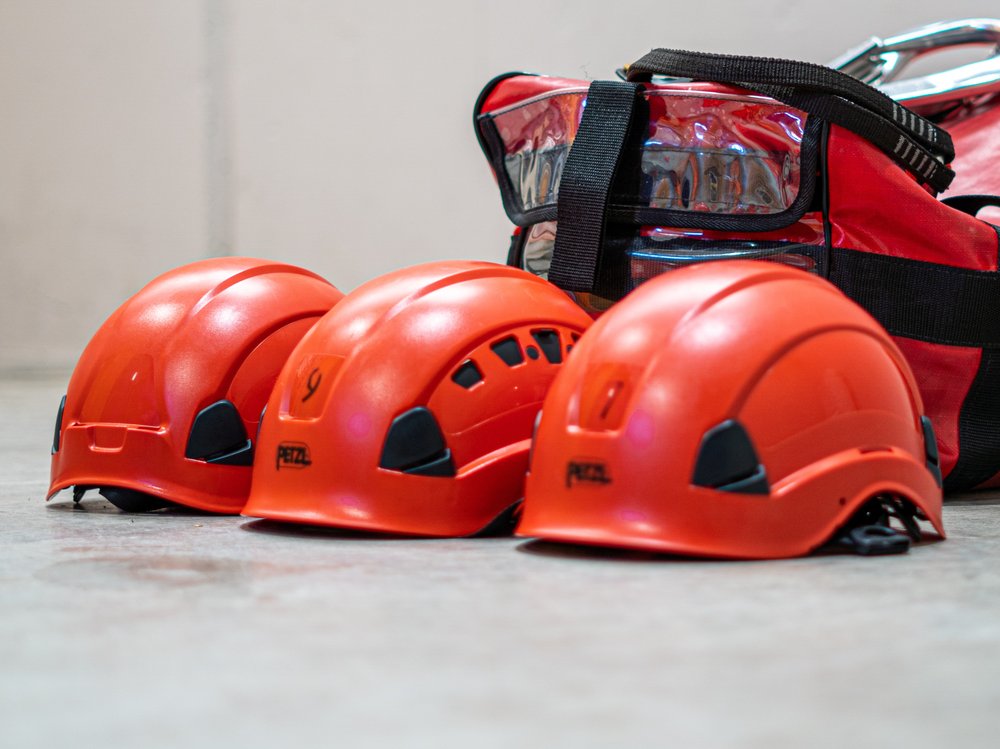
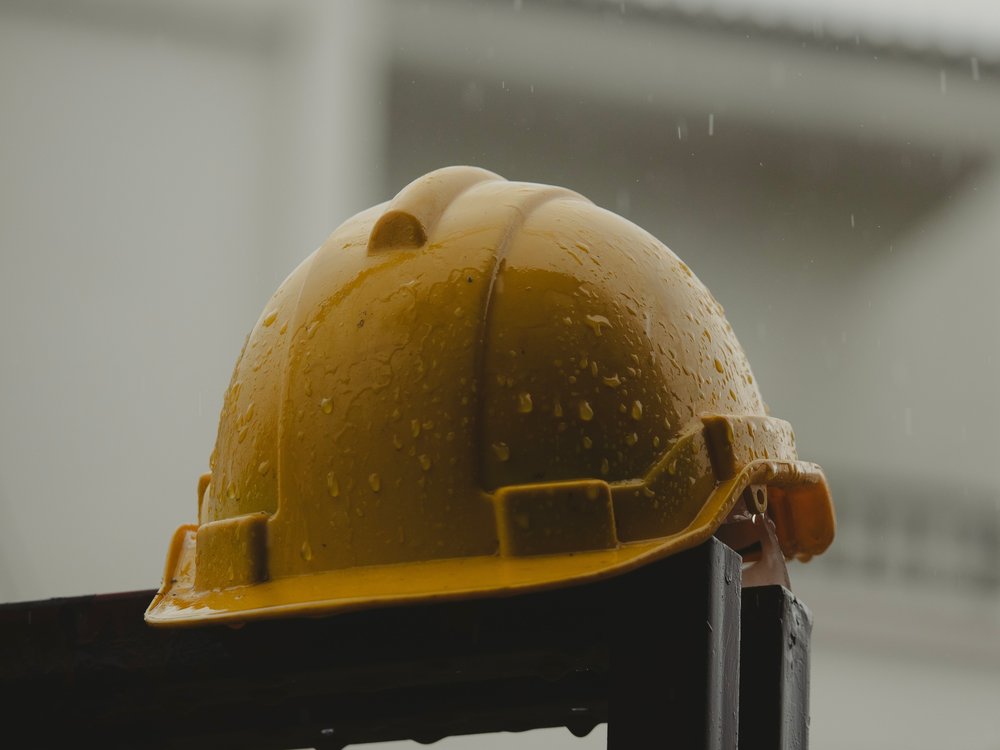
Hard Hats protect workers heads against falling objects, fixed or protruding objects, inadvertent contact with electricity, exposure to UV, weather, and extremes of temperature.
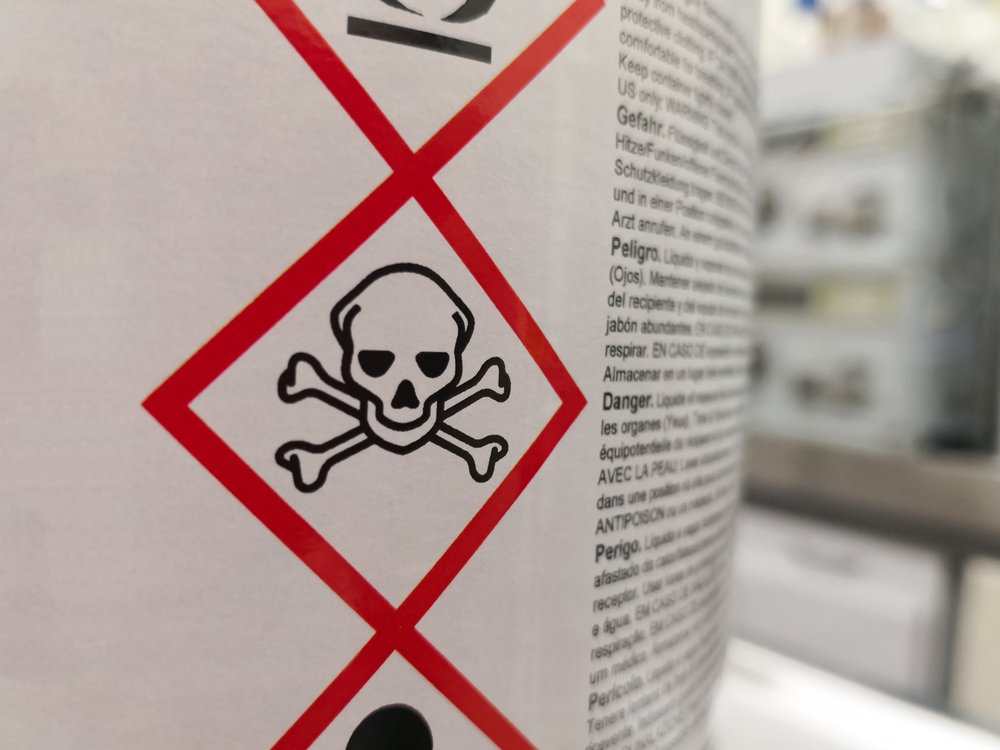
If you are one of the many businesses that use, store or handle hazardous substances, then you need to know how to manage the risks associated with them.
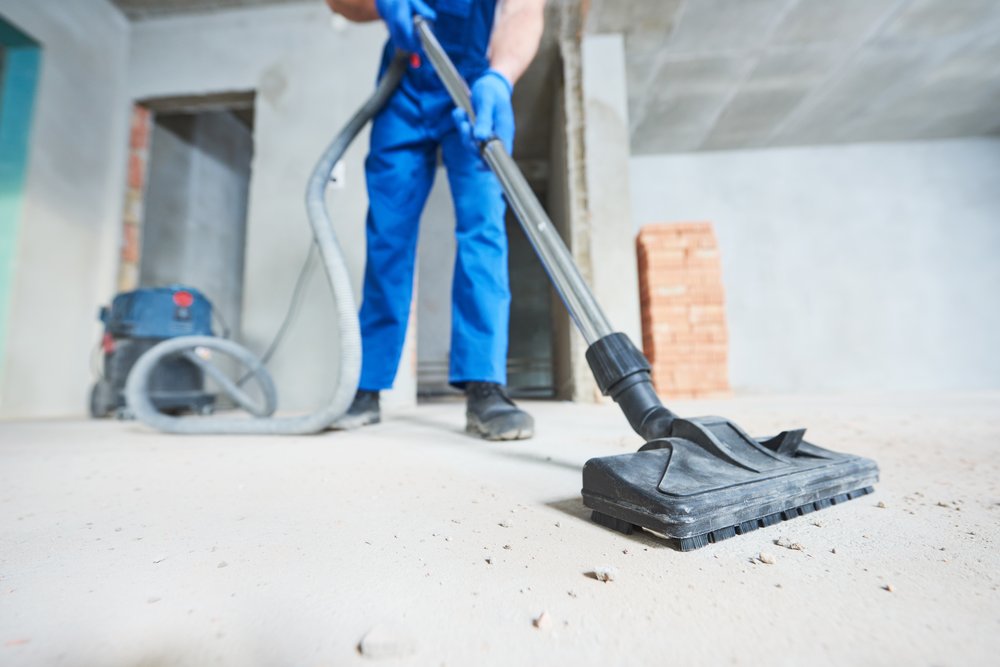
Poor housekeeping is one of the most common causes of injuries at work – and the most preventable.
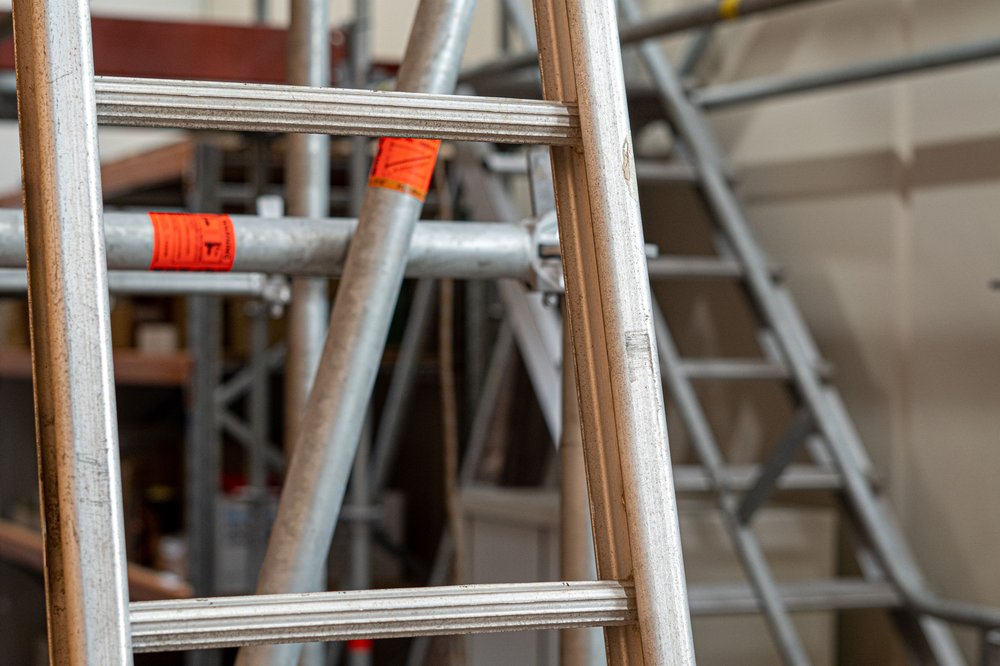
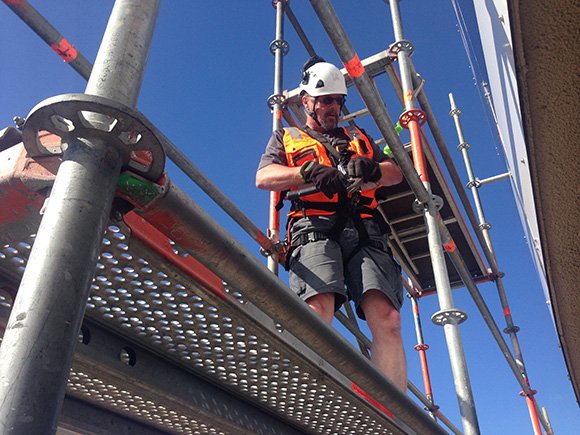
If you work at height, you must take action to protect workers from harm that could come from a fall, as far as is reasonably practicable.
Working alone can be dangerous. Whether it’s long hours on the road, meeting clients or being the only one on-site, working by yourself presents some unique risks.
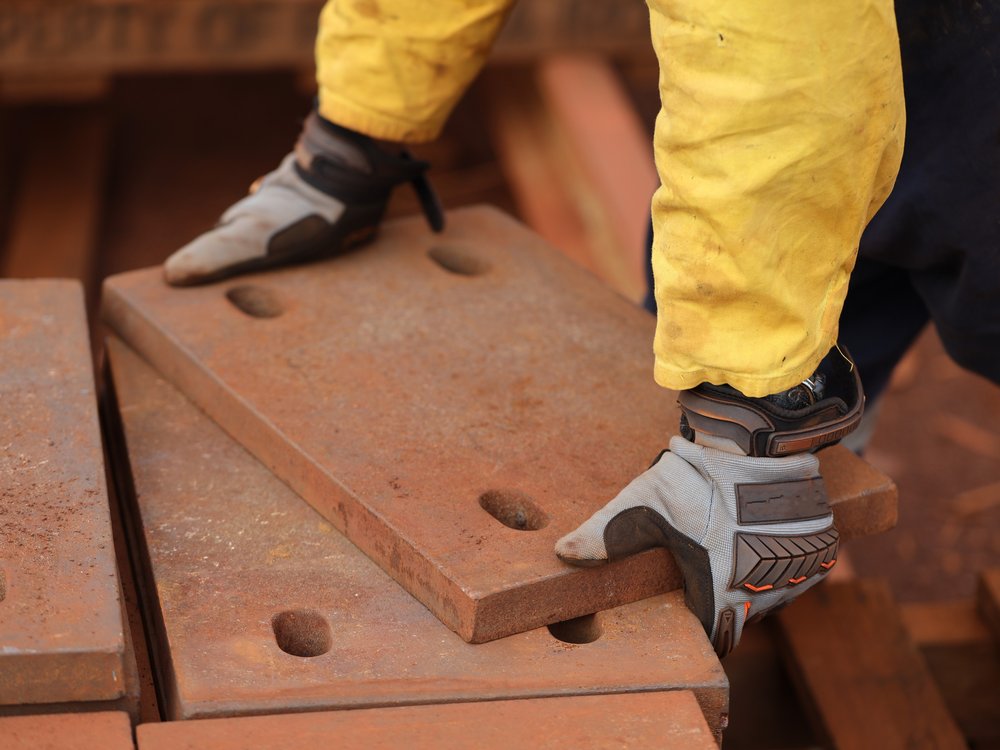
Manual handling injuries are amongst the most common injuries in the building industry, with one in four construction workers receiving a back injury of some description in any year.
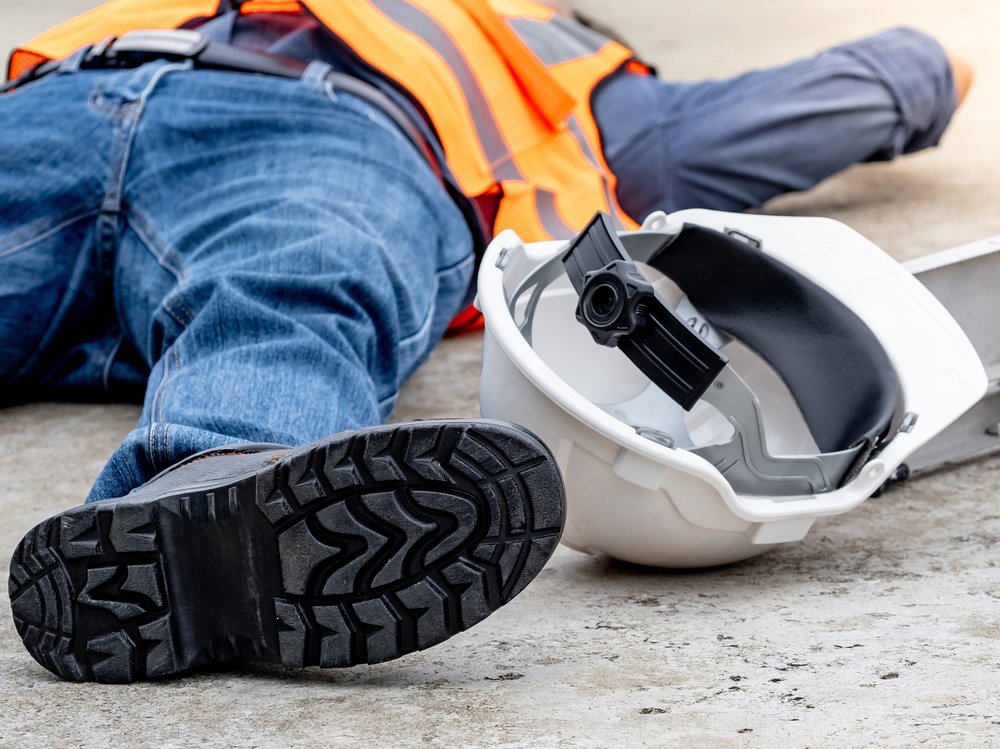
Under the Health and Safety at Work Act certain events must be notified to the regulator – WorkSafe.
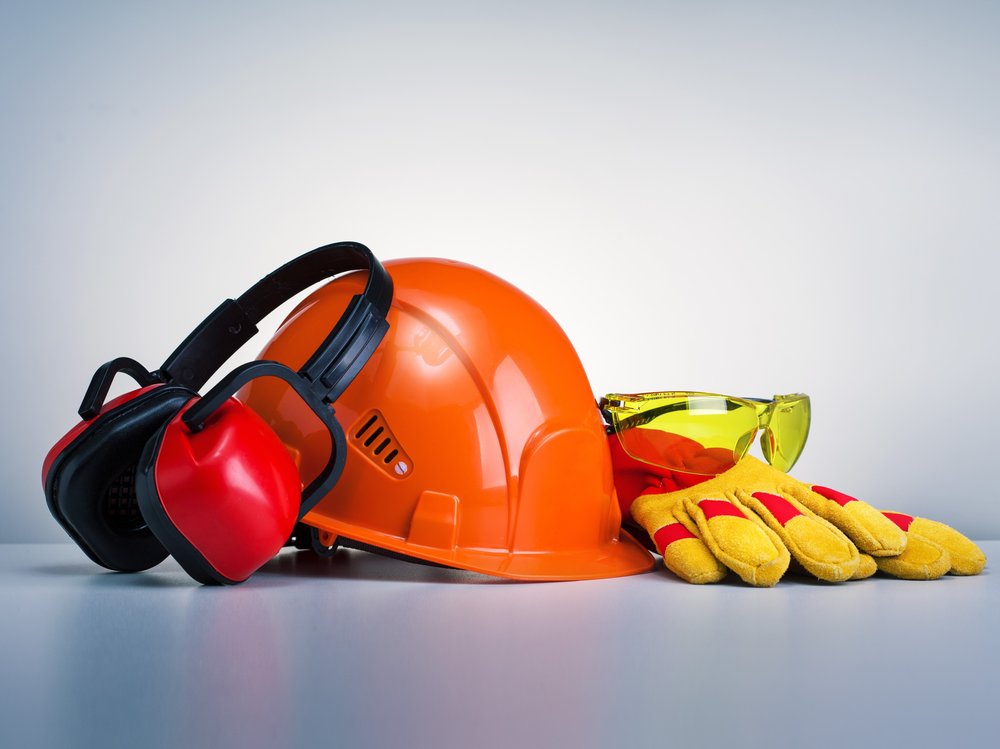
If you’re an employer, it’s up to you to ensure your workers have the right personal protective equipment.
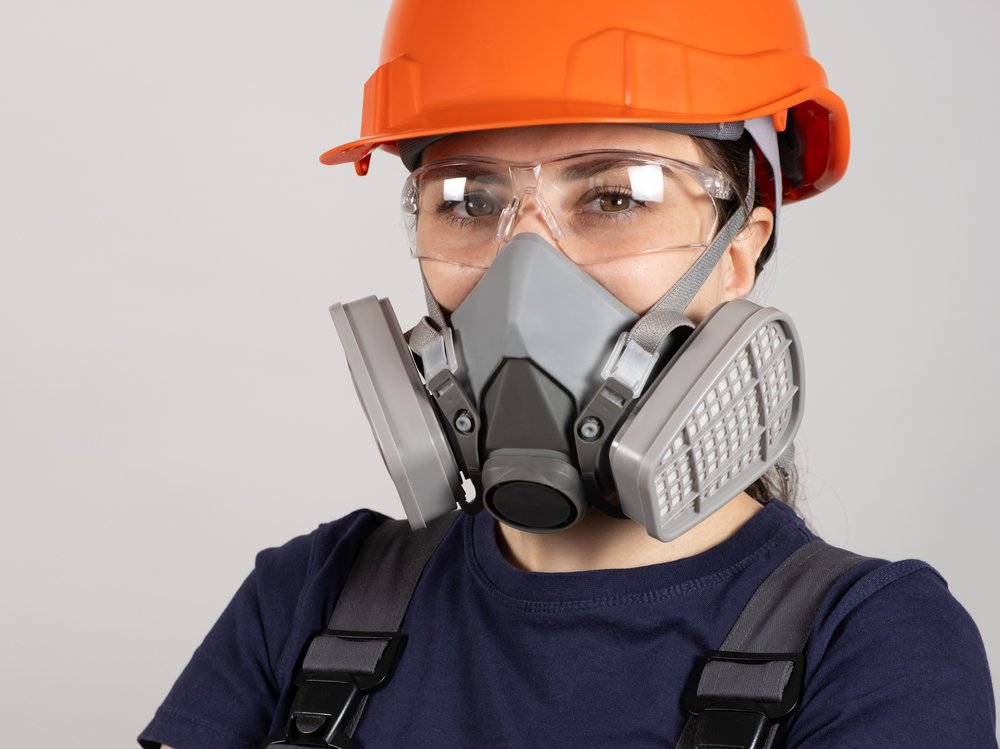
Hazardous airborne substances like dust and chemicals can be a significant risk on site. Respiratory protective equipment (RPE) is one way of preventing harm from these substances.
Creating a healthy and safe work environment is not only an important legal responsibility, it can also lead to better productivity, better relations with contractors and happier workers.
We've put together some helpful tips to help you stay on top of slips, trips, and falls
Summer is a great time for getting work done on a construction site, but it does bring some extra safety risks.
Anyone who works outside in harsh conditions knows the chilly season takes its toll. And with temperatures outside dropping, it’s time to think about protecting yourself and your workers from the elements.